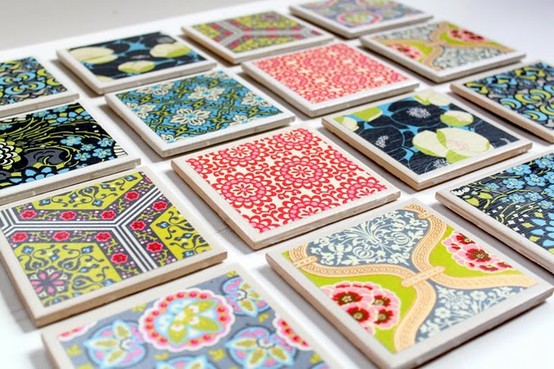
The other day our two squirrels came home and decided they wanted to get crafting for the holidays. Our oldest had been surfing around and found D.I.Y. tile coasters made from fancy paper napkins. I decided that would be a huge waste of money to buy multiple packs of napkins to suit everyone’s different tastes.
After reading the instructions, I realized we could use any kind of flat paper and decided that scrapbook paper was plentiful these days. So off to Hobby Lobby (queue church organ music and angels singing…) for our virgin trip. First I need to say that Hobby Lobby is bananas! I was a bit overwhelmed with their enormous selection, but I digress.
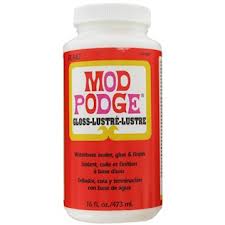
They had an entire aisle of paper to choose from, so the girls and I dove in and found 24 different papers (.56 each) so that we could make four sets of six coasters. Each one unique and personal for the recipient of the gift. I also bought felt (4 for $1.00). Mod Podge was about $4.00. However, I can tell you you can also use diluted Elmers Glue. That is what I did to save money. The glue was $2.50.
We then headed next doors to Lowe’s and bought 24 – 4.25″ white square tiles. (.17 each)
Supplies:
4 square tiles from your local hardware store (4.25″ x 4.25″)
4 pieces of scrapbook paper
4 pieces of felt (cut to 4″ x 4″)
Mod Podge
Sponge brushes
Glue (i.e. Fabri-tac or other strong adhesive)
Clear acrylic sealer – waterbased poly
I started by cutting a template that measured 4″ square. I cut all of my paper and felt into the squares. I took my diluted Elmers Glue and painted the tiles with my sponge brush and laid the square of paper onto the glue surface. I then smoothed it down with my sponge brush, until it was totally covered with glue on the surface.
I let them dry for two days to be sure the glue was set.
Then take a clean foam brush and paint the poly onto the surface covering the paper and edges to be sure it’s sealed up well.
Let them dry for one day. Do this 2x more. So three total coats. Let them totally dry before applying the felt backing.
Apply the felt backing once the tiles are completely dry and not tacky. Again, let them dry for a couple of days.
You can apply a thin piece of ribbon on the edges. We however are not doing this because I’m lazy! LOL!
